
Did you know that the new ‘Disallow Direct Posting’ checkbox on GL Accounts is only designed to eliminate direct posting in the General Ledger application? This i...
Did you know that the new ‘Disallow Direct Posting’ checkbox on GL Accounts is only designed to eliminate direct posting in the General Ledger application? This is great, however, when coding AR invoices and AP bills the GL account lists don’t filter to just your revenue and expense accounts, leading to accidental data entry errors. Today we’ll look at a simple smart rule, custom system data validation, you can set up to prevent these mistakes.
So, let’s walk through a hypothetical situation. Your accounts payable clerk was able to create an AP bill and post it directly to one of your intercompany GL accounts. Yikes! Last year when you were in the office it was easy to catch these mistakes quickly and make the correction before the transaction was submitted for approval. With everyone working in different locations, it’s hard to catch these mistakes until after the fact. Now that this situation has come to pass let’s use the system to disable the ability to post directly to these accounts in an Accounts Payable transaction with a little help from Smart Rules and custom fields.
Smart Rules can be used to generate a warning or error message when a user saves data that does not meet the custom data validation requirements. Take it a step further and you can control the condition’s trigger using a simple custom field.
How does this work exactly?
First, we’ll set up a custom field on the GL account to provide us with the trigger point for the condition. Once we have the custom field we can then set up the rule to determine what accounts the AP clerk cannot use during her data entry.
Controlling Smart Rules with a Custom Field
To avoid having to constantly edit smart rule logic every time a new intercompany GL account is added, we’ll set up a custom field on our GL Account record. This custom field allows us to easily control which accounts the rule applies to.
Custom Field Setup
Step 1 – Navigation: Platform Services > Custom Fields > Add
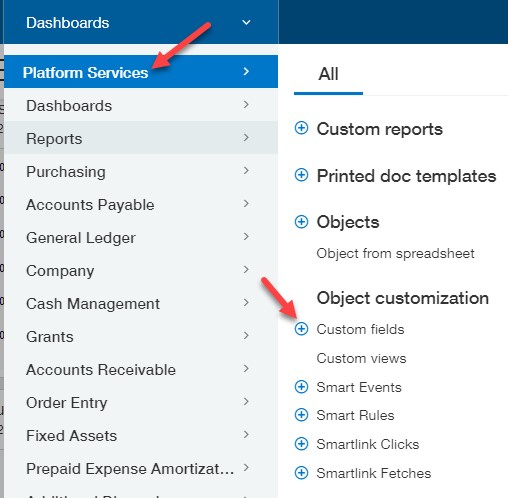
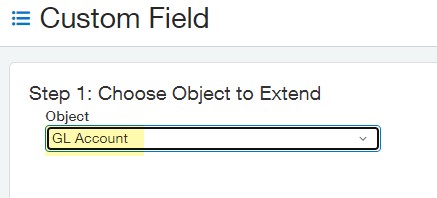
Step 2 – Choose the Object: Select the object to add the custom field to. In our example, this is the GL Account.
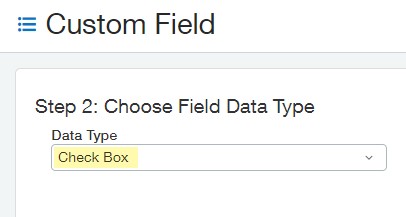
Step 3 – Field Type: For the Field Data Type leave the default, checkbox, and click next.
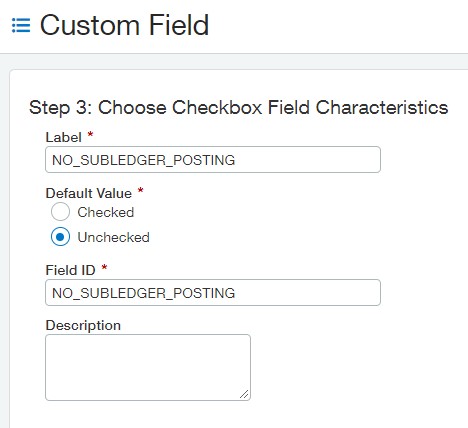
Step 4 – Field Characteristics: Give the custom field a label and default setting value for the record. The field ID will auto-populate based on the label entered. (Helpful Tip: Make sure the ID has no spaces).
Update GL Accounts
Once you’ve saved the custom field, we’ll need to edit the GL accounts you want to eliminate posting to via the AP subledger. Navigate to General Ledger > General Ledger Accounts and edit the account. Check the new No Subledger Posting custom checkbox.

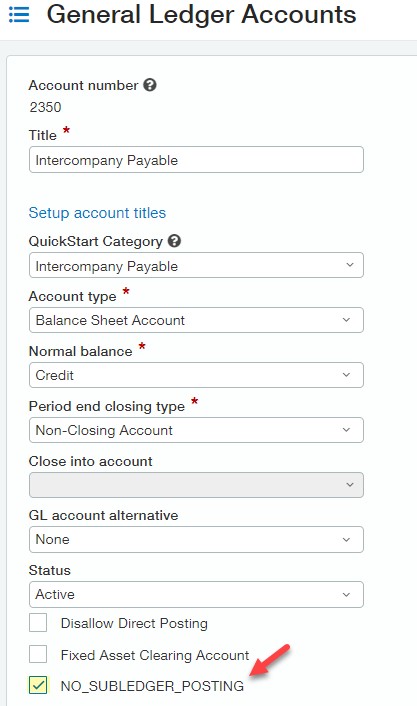
Adding the Smart Rule
Now that we’ve set up the custom field and enabled it on our GL accounts, it’s time to set up the Smart Rule. Navigate back to Platform Services, where we created the custom field. This time click the Add button next to Smart Rules.
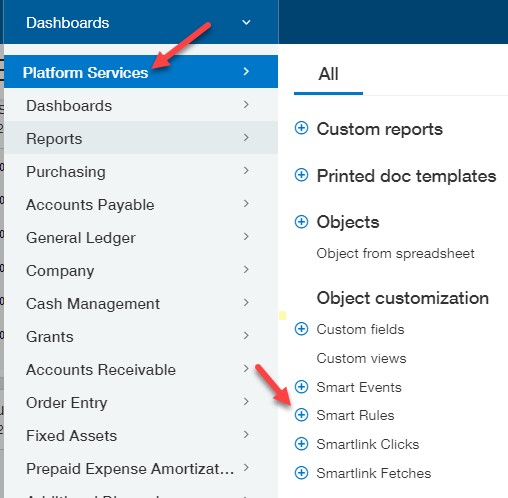
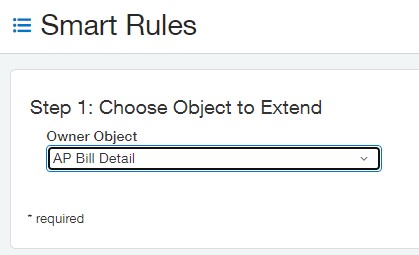
Step 1 – Object: Select the AP Bill Detail as your object.
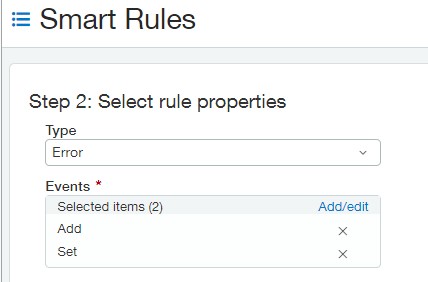
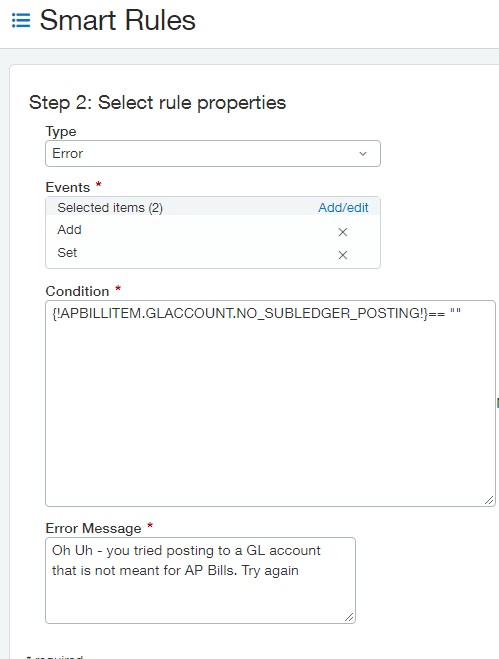
Step 2 – Properties: Select the following rule properties.
- Type: Error
- Events: Add and Set (the rule will be triggered both when a new bill is added and when an existing bill is edited).
- Condition: from your field lookup (top right) search for the custom field in the GL account section, click ok once found.
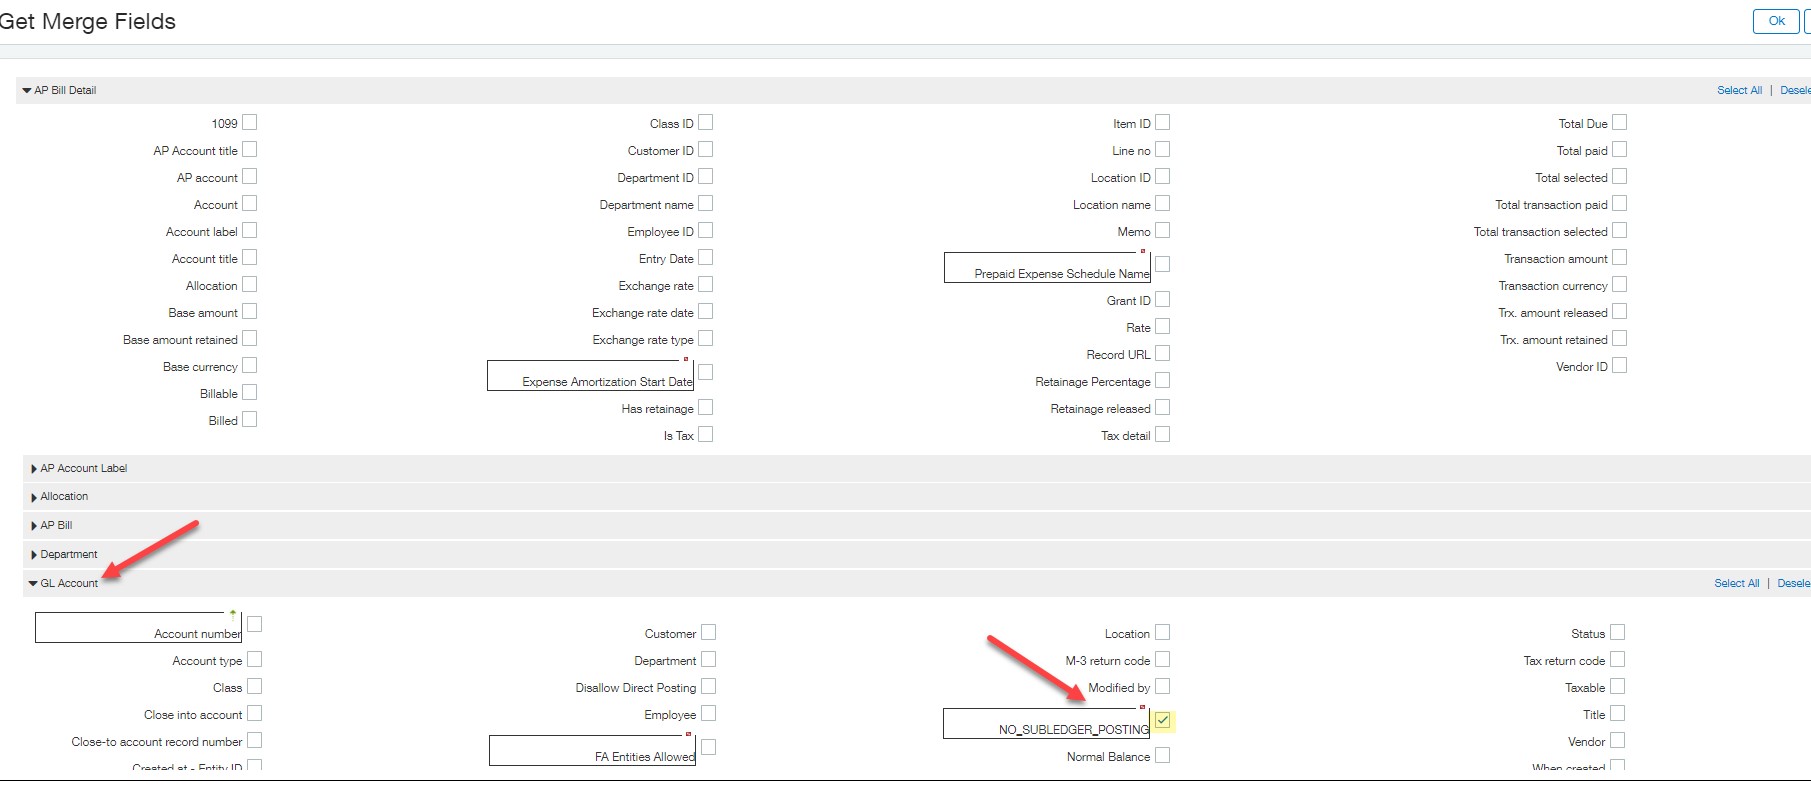
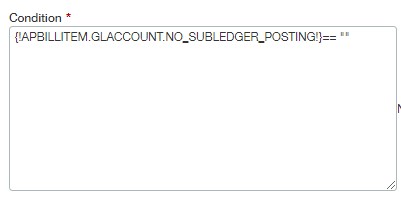
- Our example condition will state that the “No Subledger Posting” checkbox must not be checked on the GL account in order to proceed with entering the bill. If the “No Subledger Posting” checkbox is checked on the account we coded the bill to, the condition is violated and our smart rule error is triggered.
- Error: Enter an error message to display when the data validation is triggered. (Helpful hint: you can also use merge fields here to specify for example which line of the AP bill needs to be changed).

The properties step of your Smart Rule should look like this when complete:
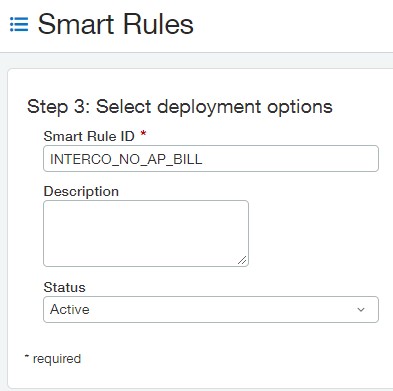
Step 3 – Deployment: Set up a Smart Rule ID (again, no spaces allowed).
Testing the Smart Rule
Now, let’s test the workflow. Navigate to accounts payable and add a new bill. Post the bill directly to the intercompany account we checked the “No Subledger Posting” checkbox on.

Click post and review the error message:
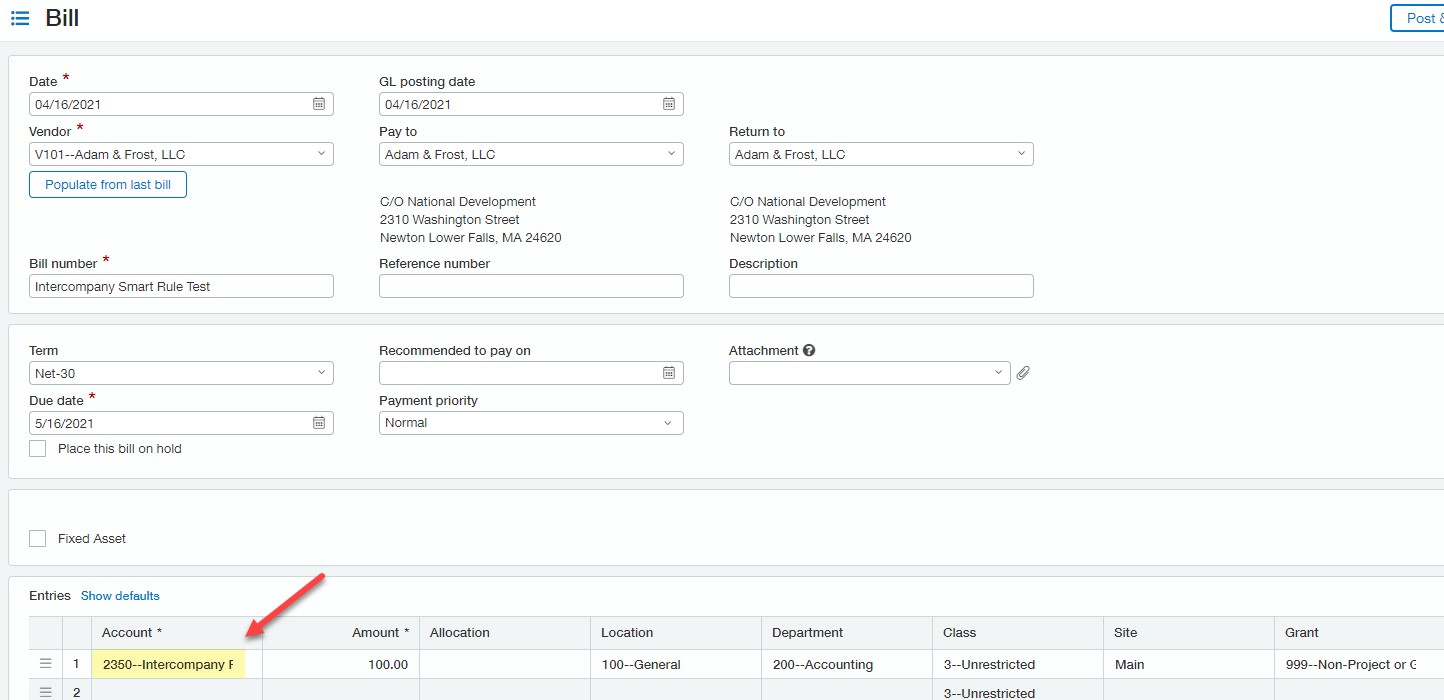
Ta-da now that you have this smart rule built no one will be able to post an AP bill again to your intercompany accounts. Unless someone disables the custom field on the GL accounts, in which case the smart rule won’t work and you may have to send out the flying monkeys to track down the culprit. Want another example? Check out some of our previous posts Smart Rules and even Smart Events.
What’s Next?
Join us for our complimentary webinar on April 27th at 10am (PT)/1pm (ET) to learn the answers to the following questions:
- How do I set up Smart Rules and Smart Events?
- What are common scenarios that Smart Rules or Smart Events are used in?
- See live demonstrations
Reading this post after the webinar? Reach out to your CLA Sage Intacct team for more information.
The post Customized Data Validation with Smart Rules appeared first on Sage Blog.
Want to learn more? Complete the form below and we'll be in touch. If you are unable to see the form below, please complete your submission here.Contact us
